
While Bruker’s instruments inherently hold immense value, boasting unparalleled technology and innovation that often outshines their closest competitors, our focus in design and marketing is to elevate these products’ visibility. Our aim is to imbue them with a distinct presence and to ensure that our efforts reflect the utmost quality befitting a market-leading Mass Spectrometry device—something our client, Bruker, can proudly showcase to their clientele.
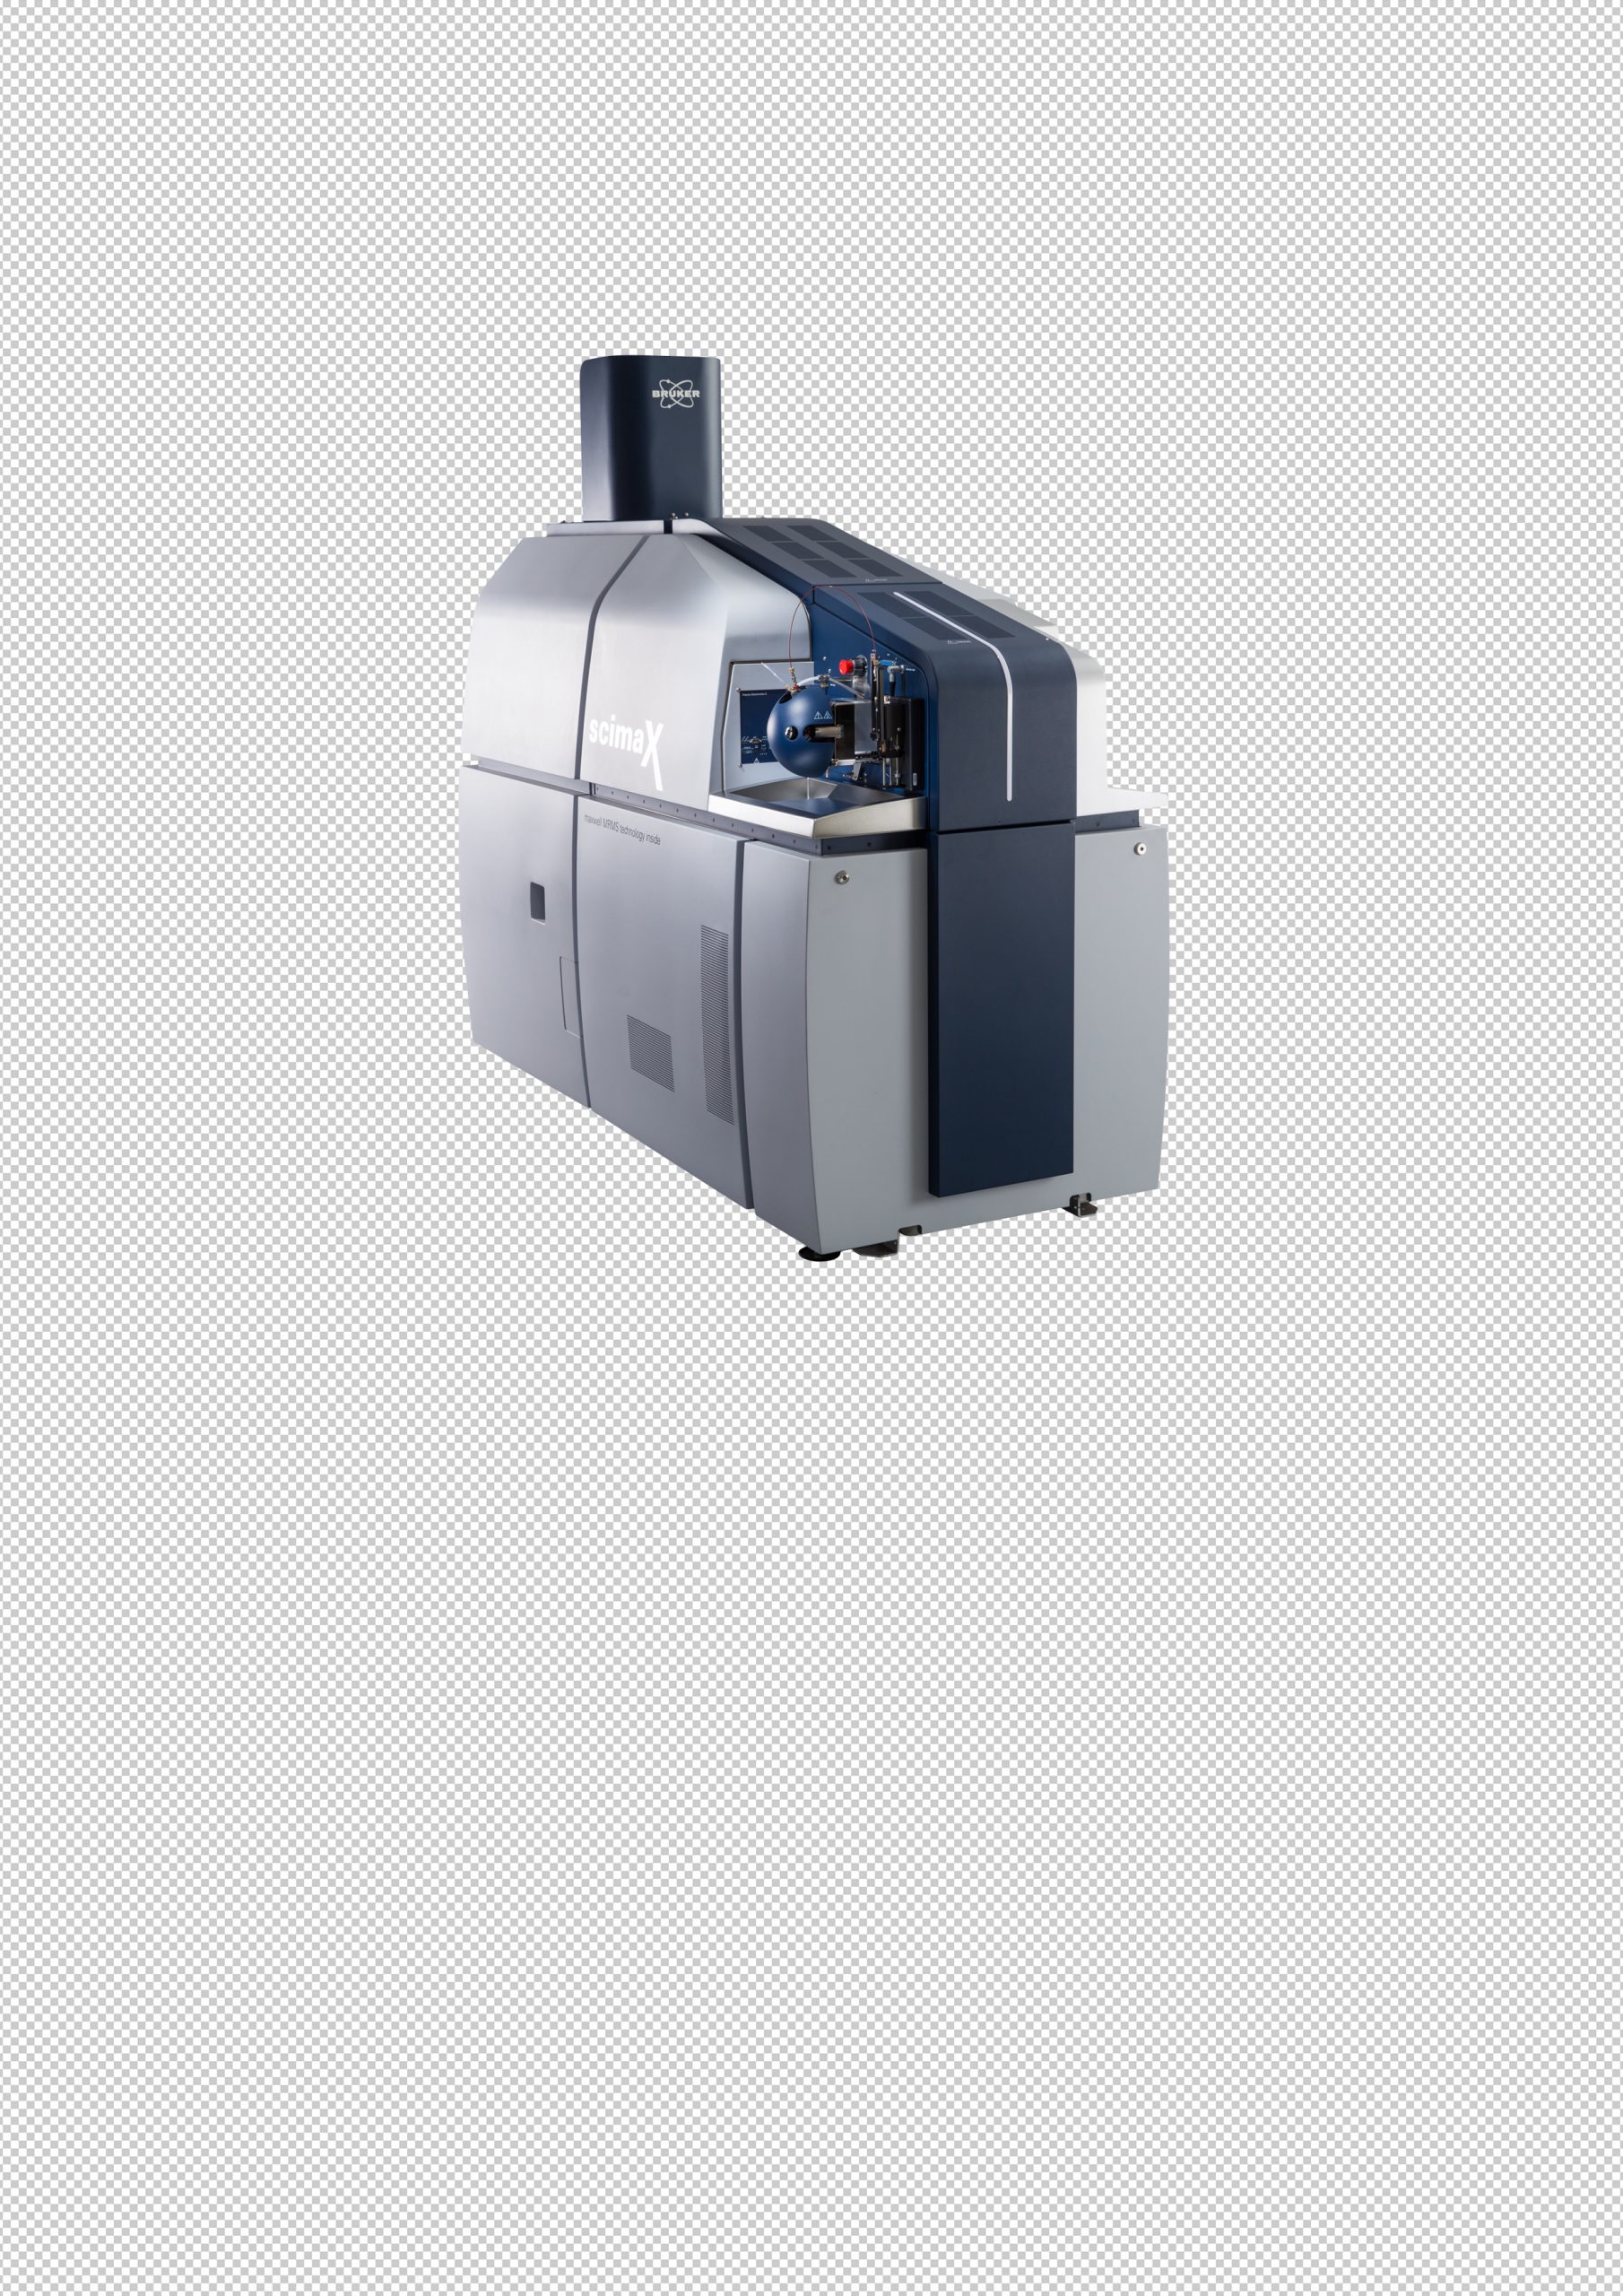
The imagery of the products needs to exude not only realism but also context and a sense of excellence. It’s worth noting that these machines are highly coveted and represent the pinnacle of technological advancement. Consider this scenario: we receive a basic image of one of Bruker’s instruments, isolated for use in marketing materials like flyers, web pages, or event banners. How do we impart the necessary contextual elements? How do we prevent the instrument from appearing suspended in an empty white space?
Explore the project…


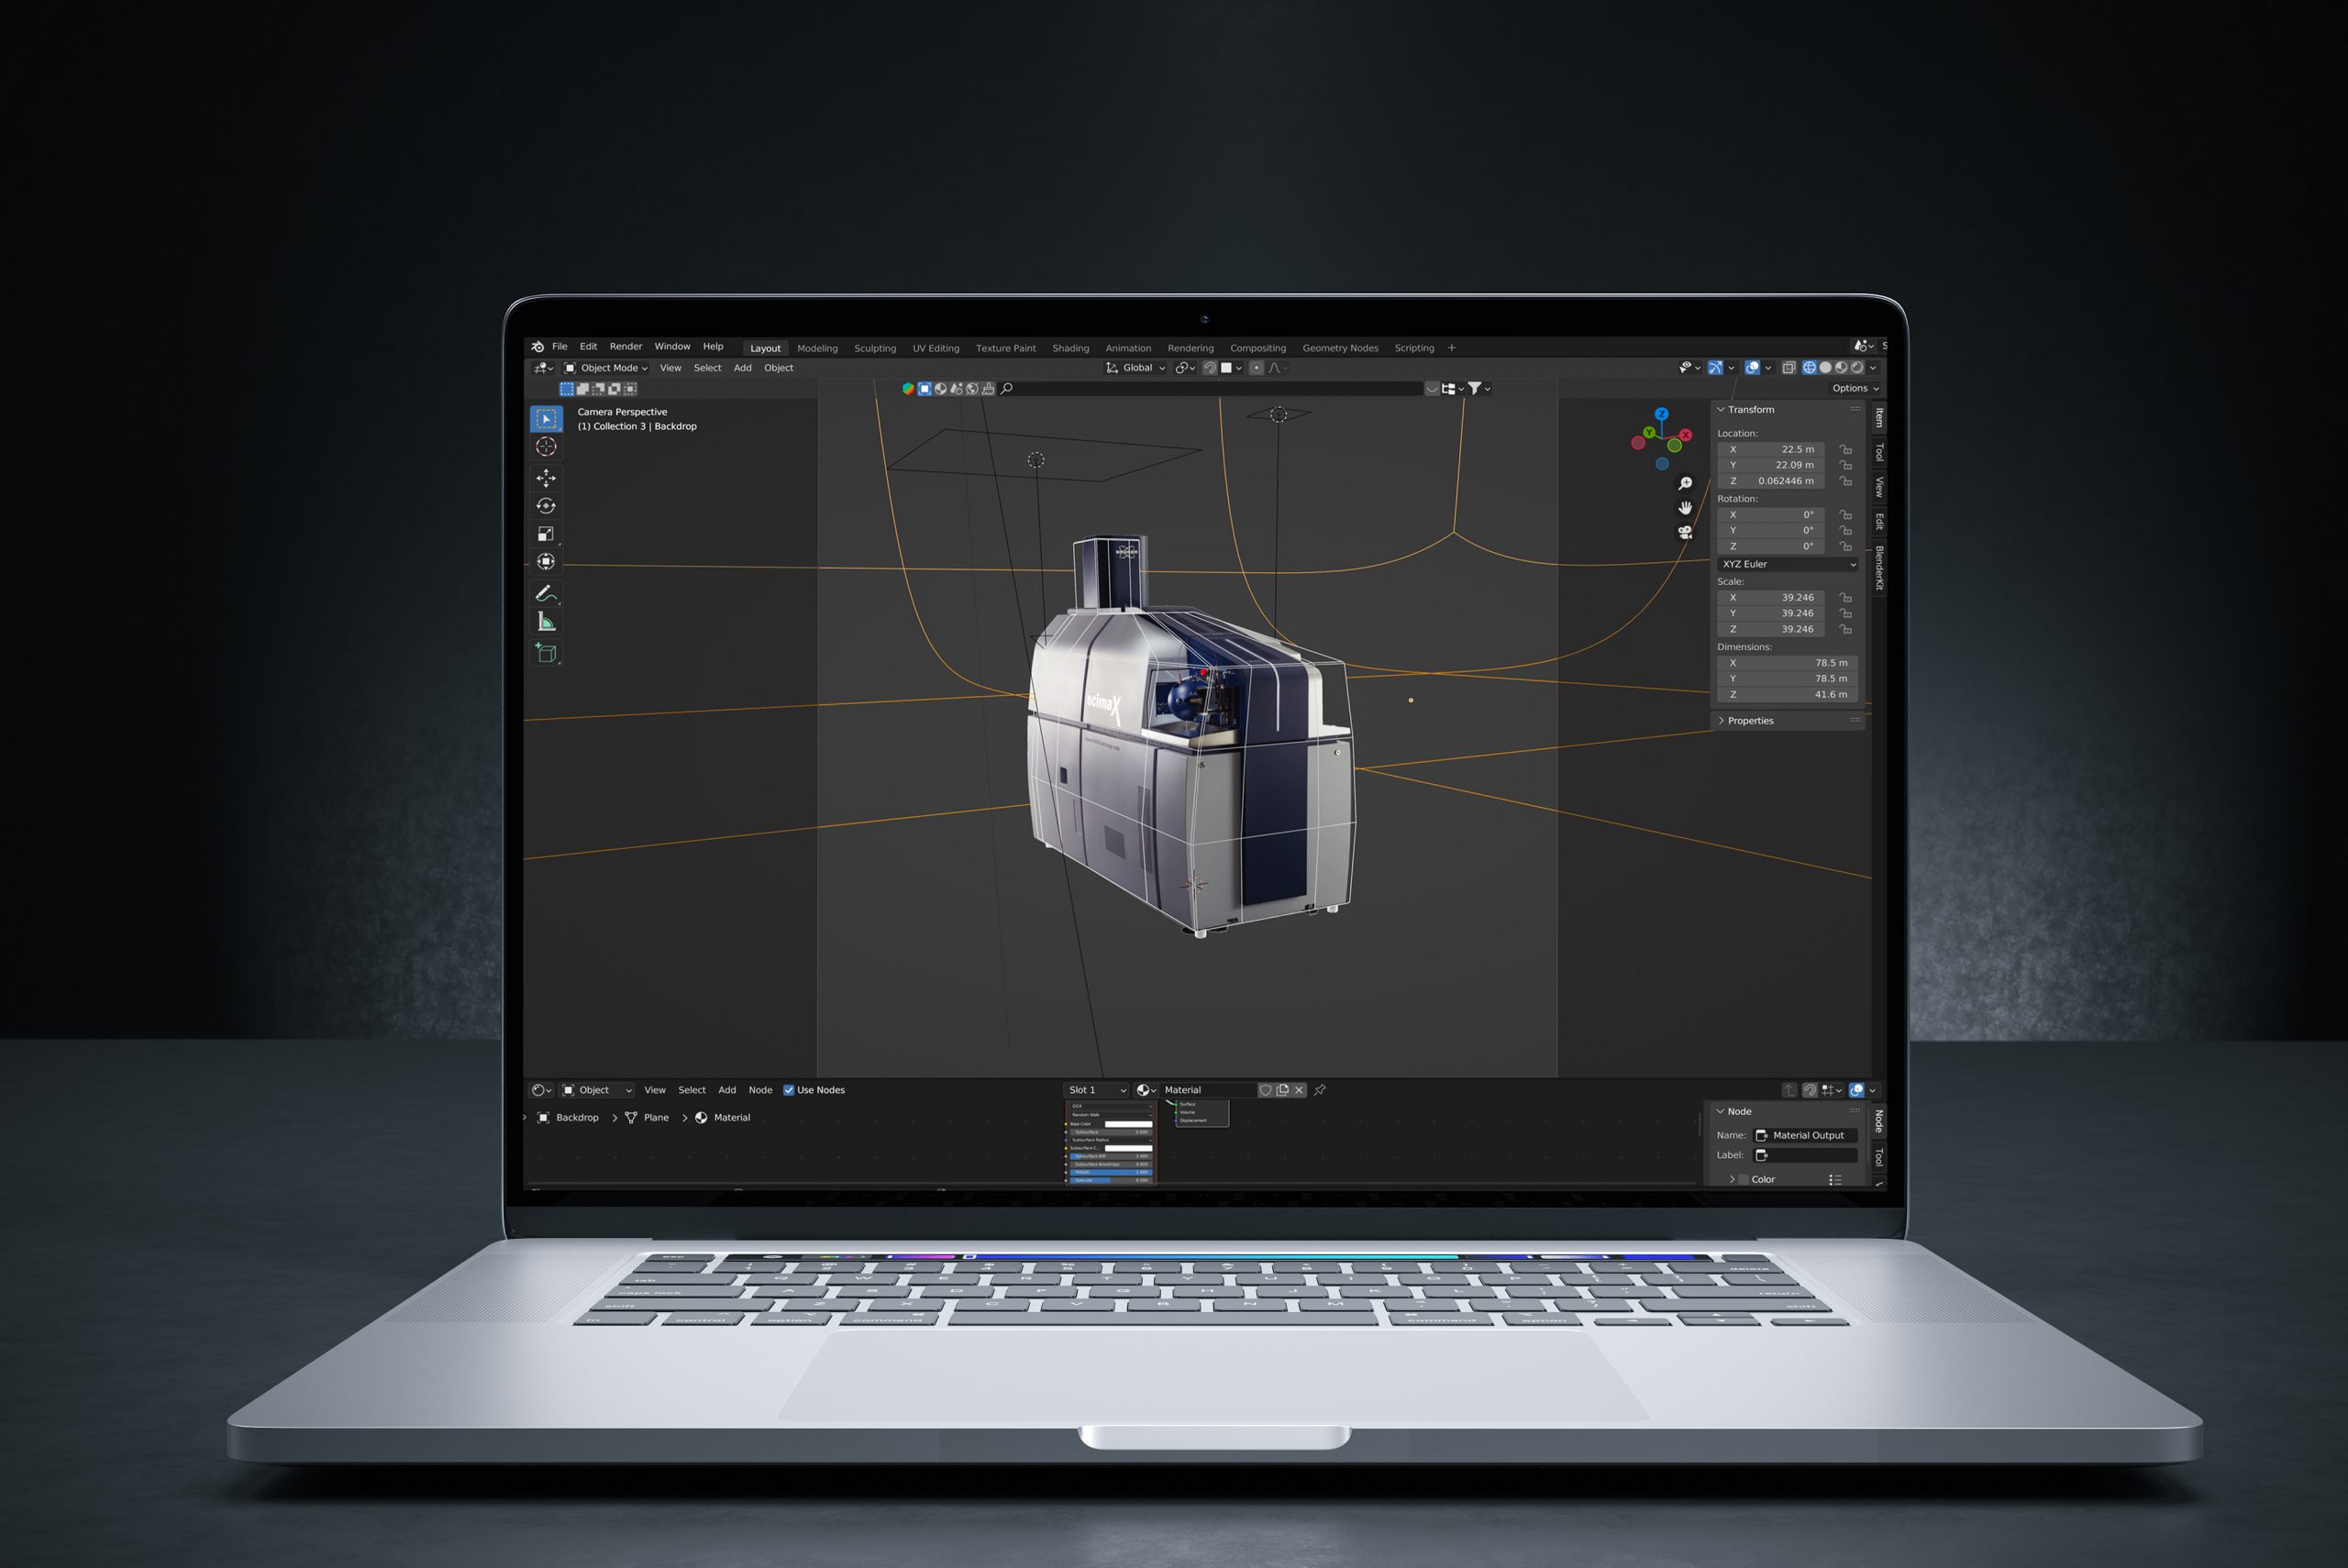
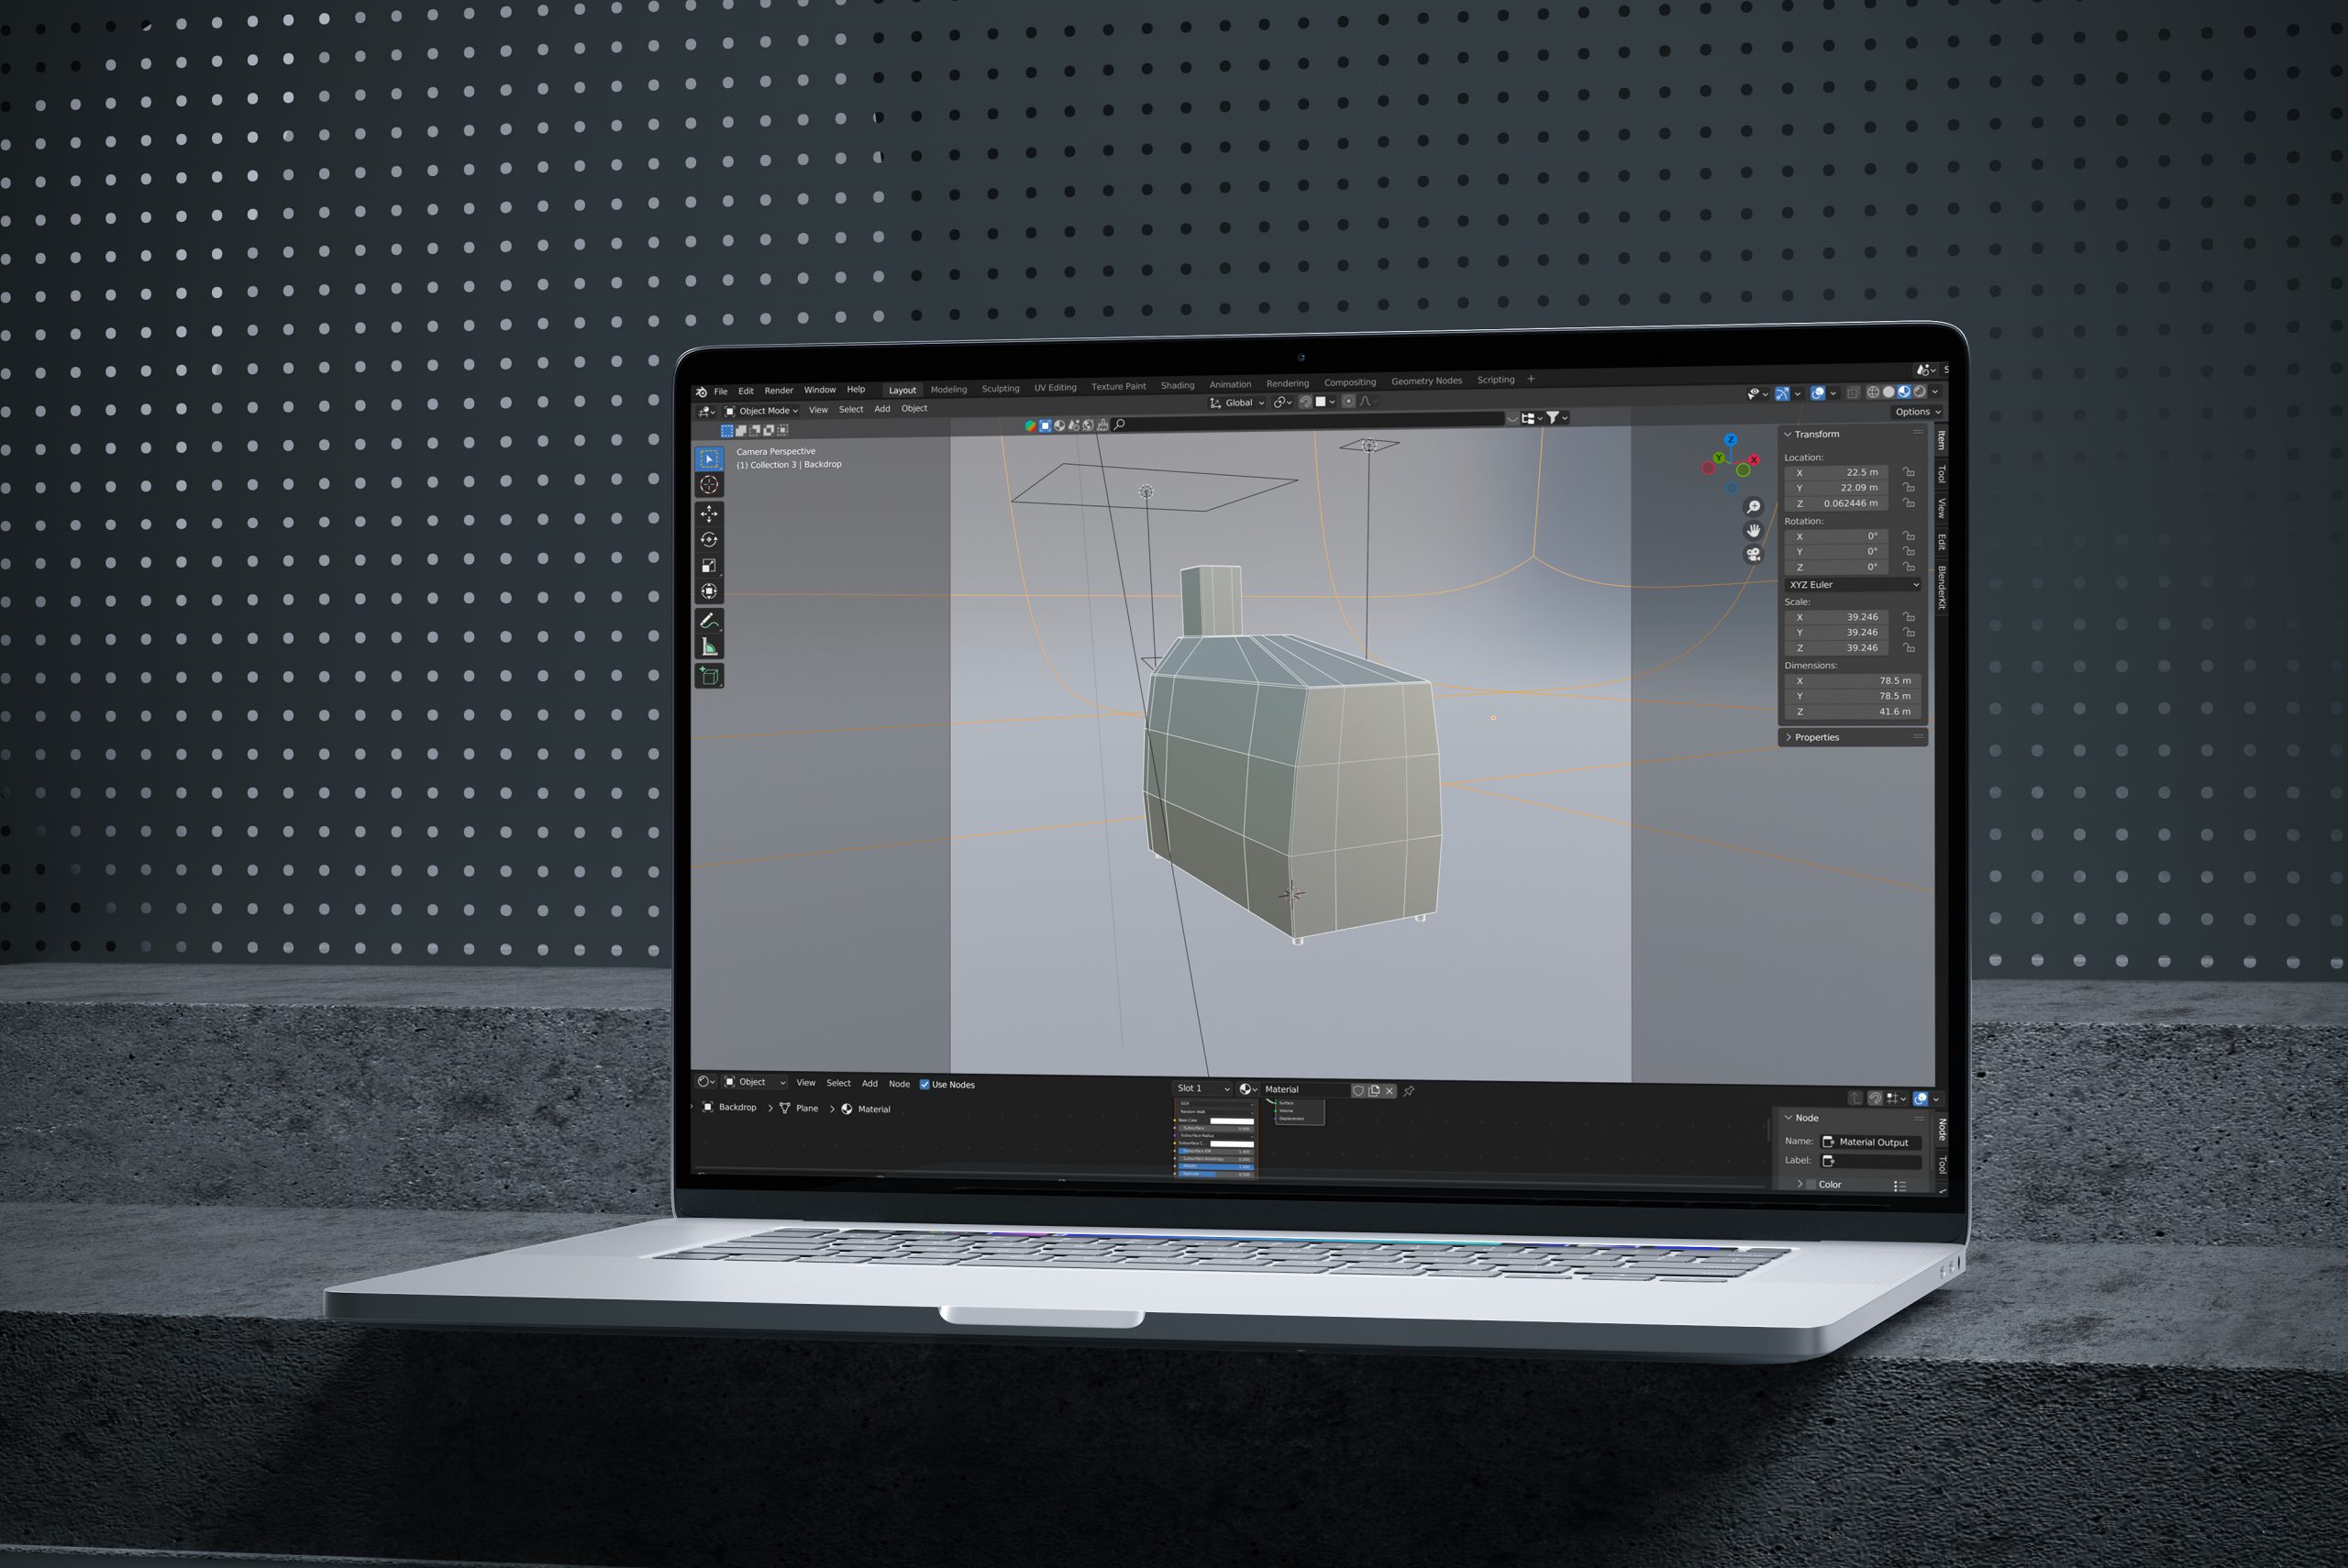
Certainly, we could have opted for Adobe Photoshop and created our own artificial shadows. While a relatively straightforward process, it relies largely on guesswork, constructing an impression based solely on visual cues. However, when aiming for technical precision and consistency across multiple instrument images, a more effective approach is to employ a 3D virtual photography studio rig. Enter Blender, an open-source 3D creation suite that empowers us to fabricate an entirely virtual studio environment, granting complete control over the context surrounding the 2D product depiction.
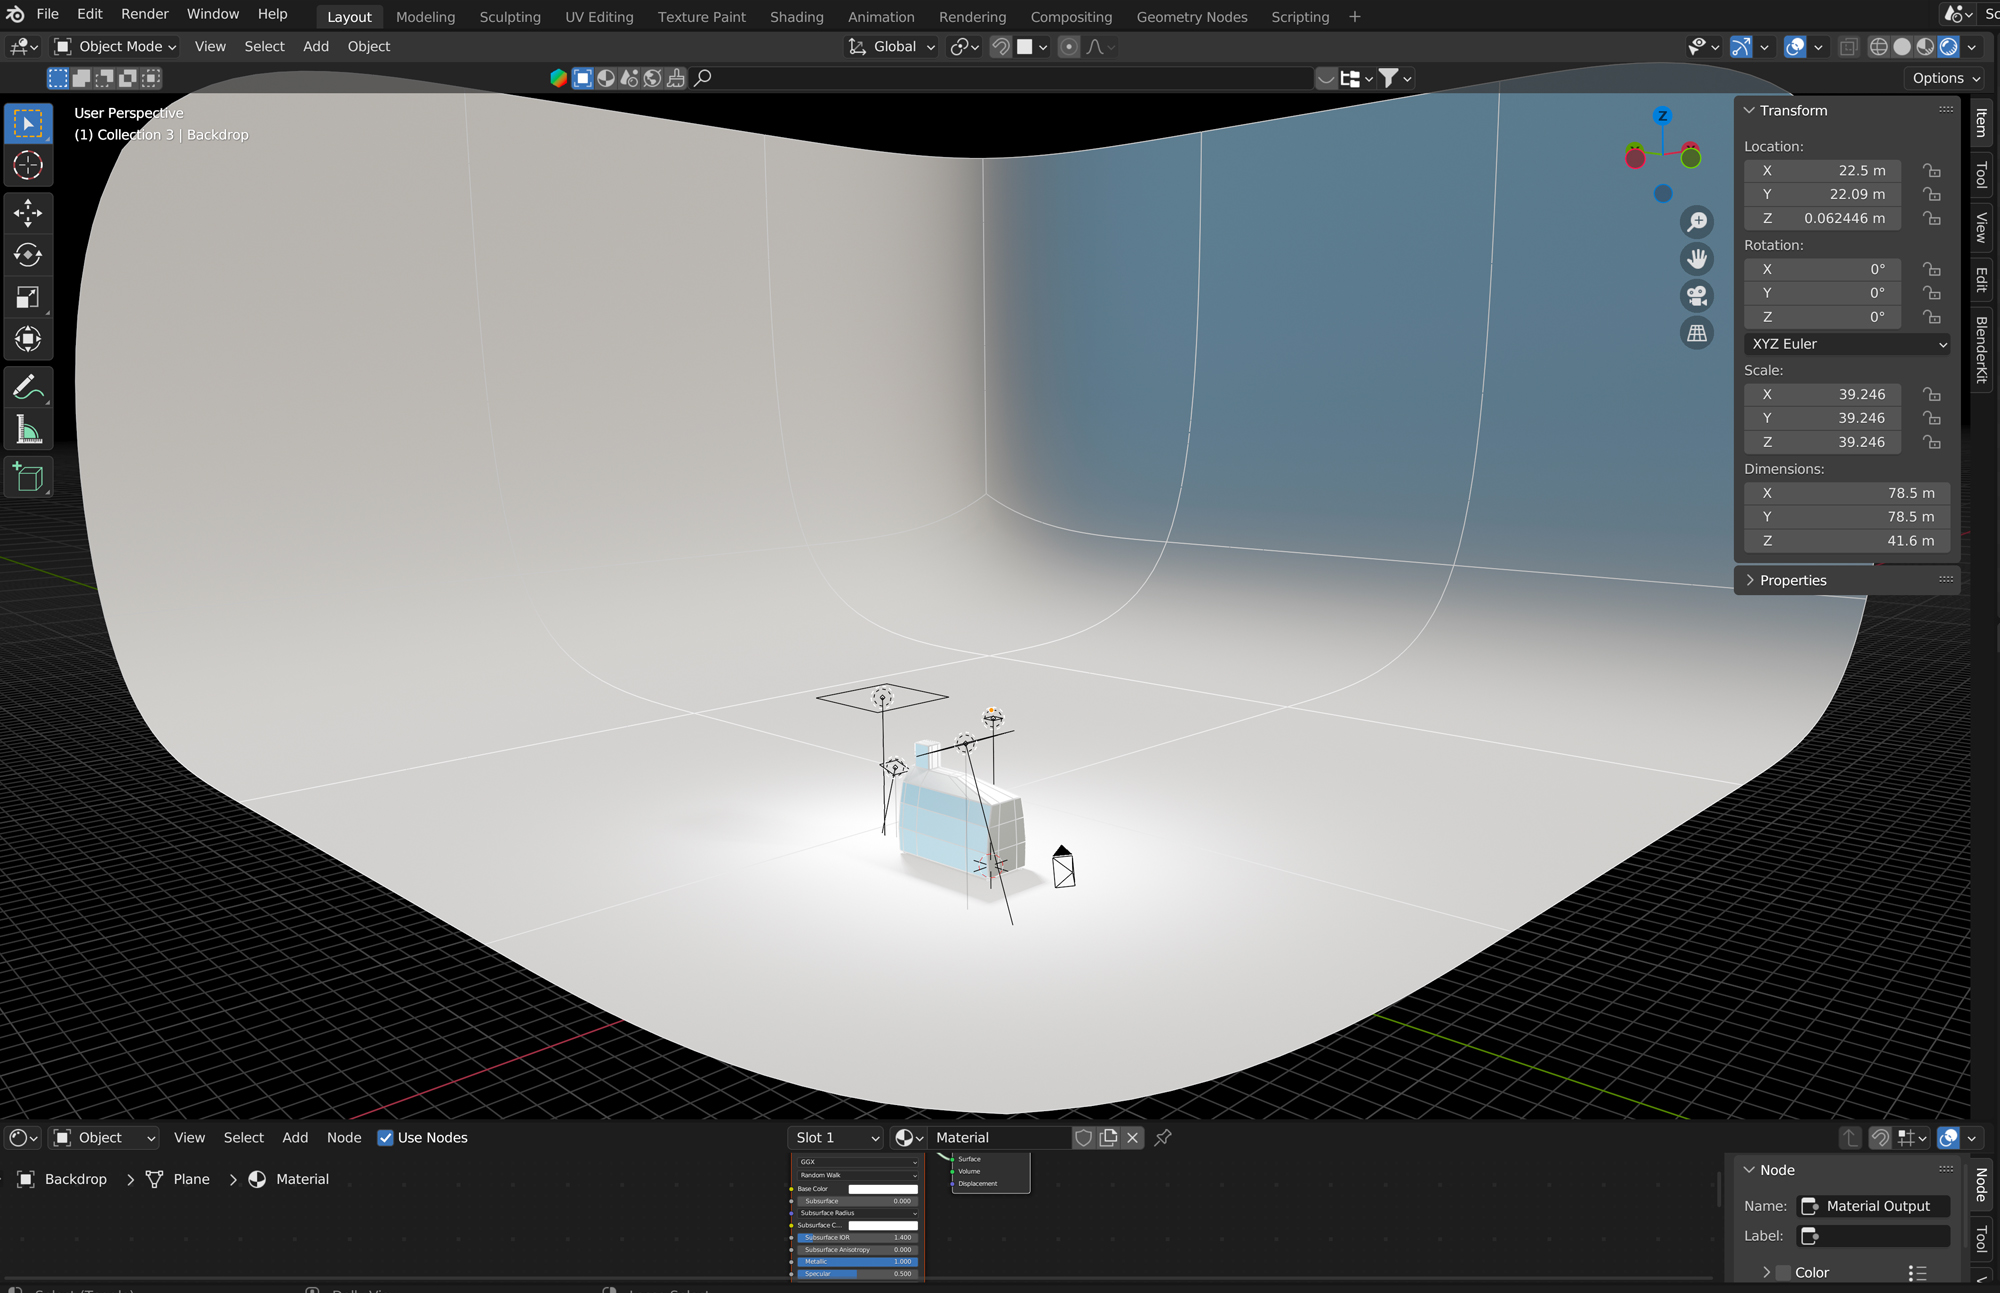
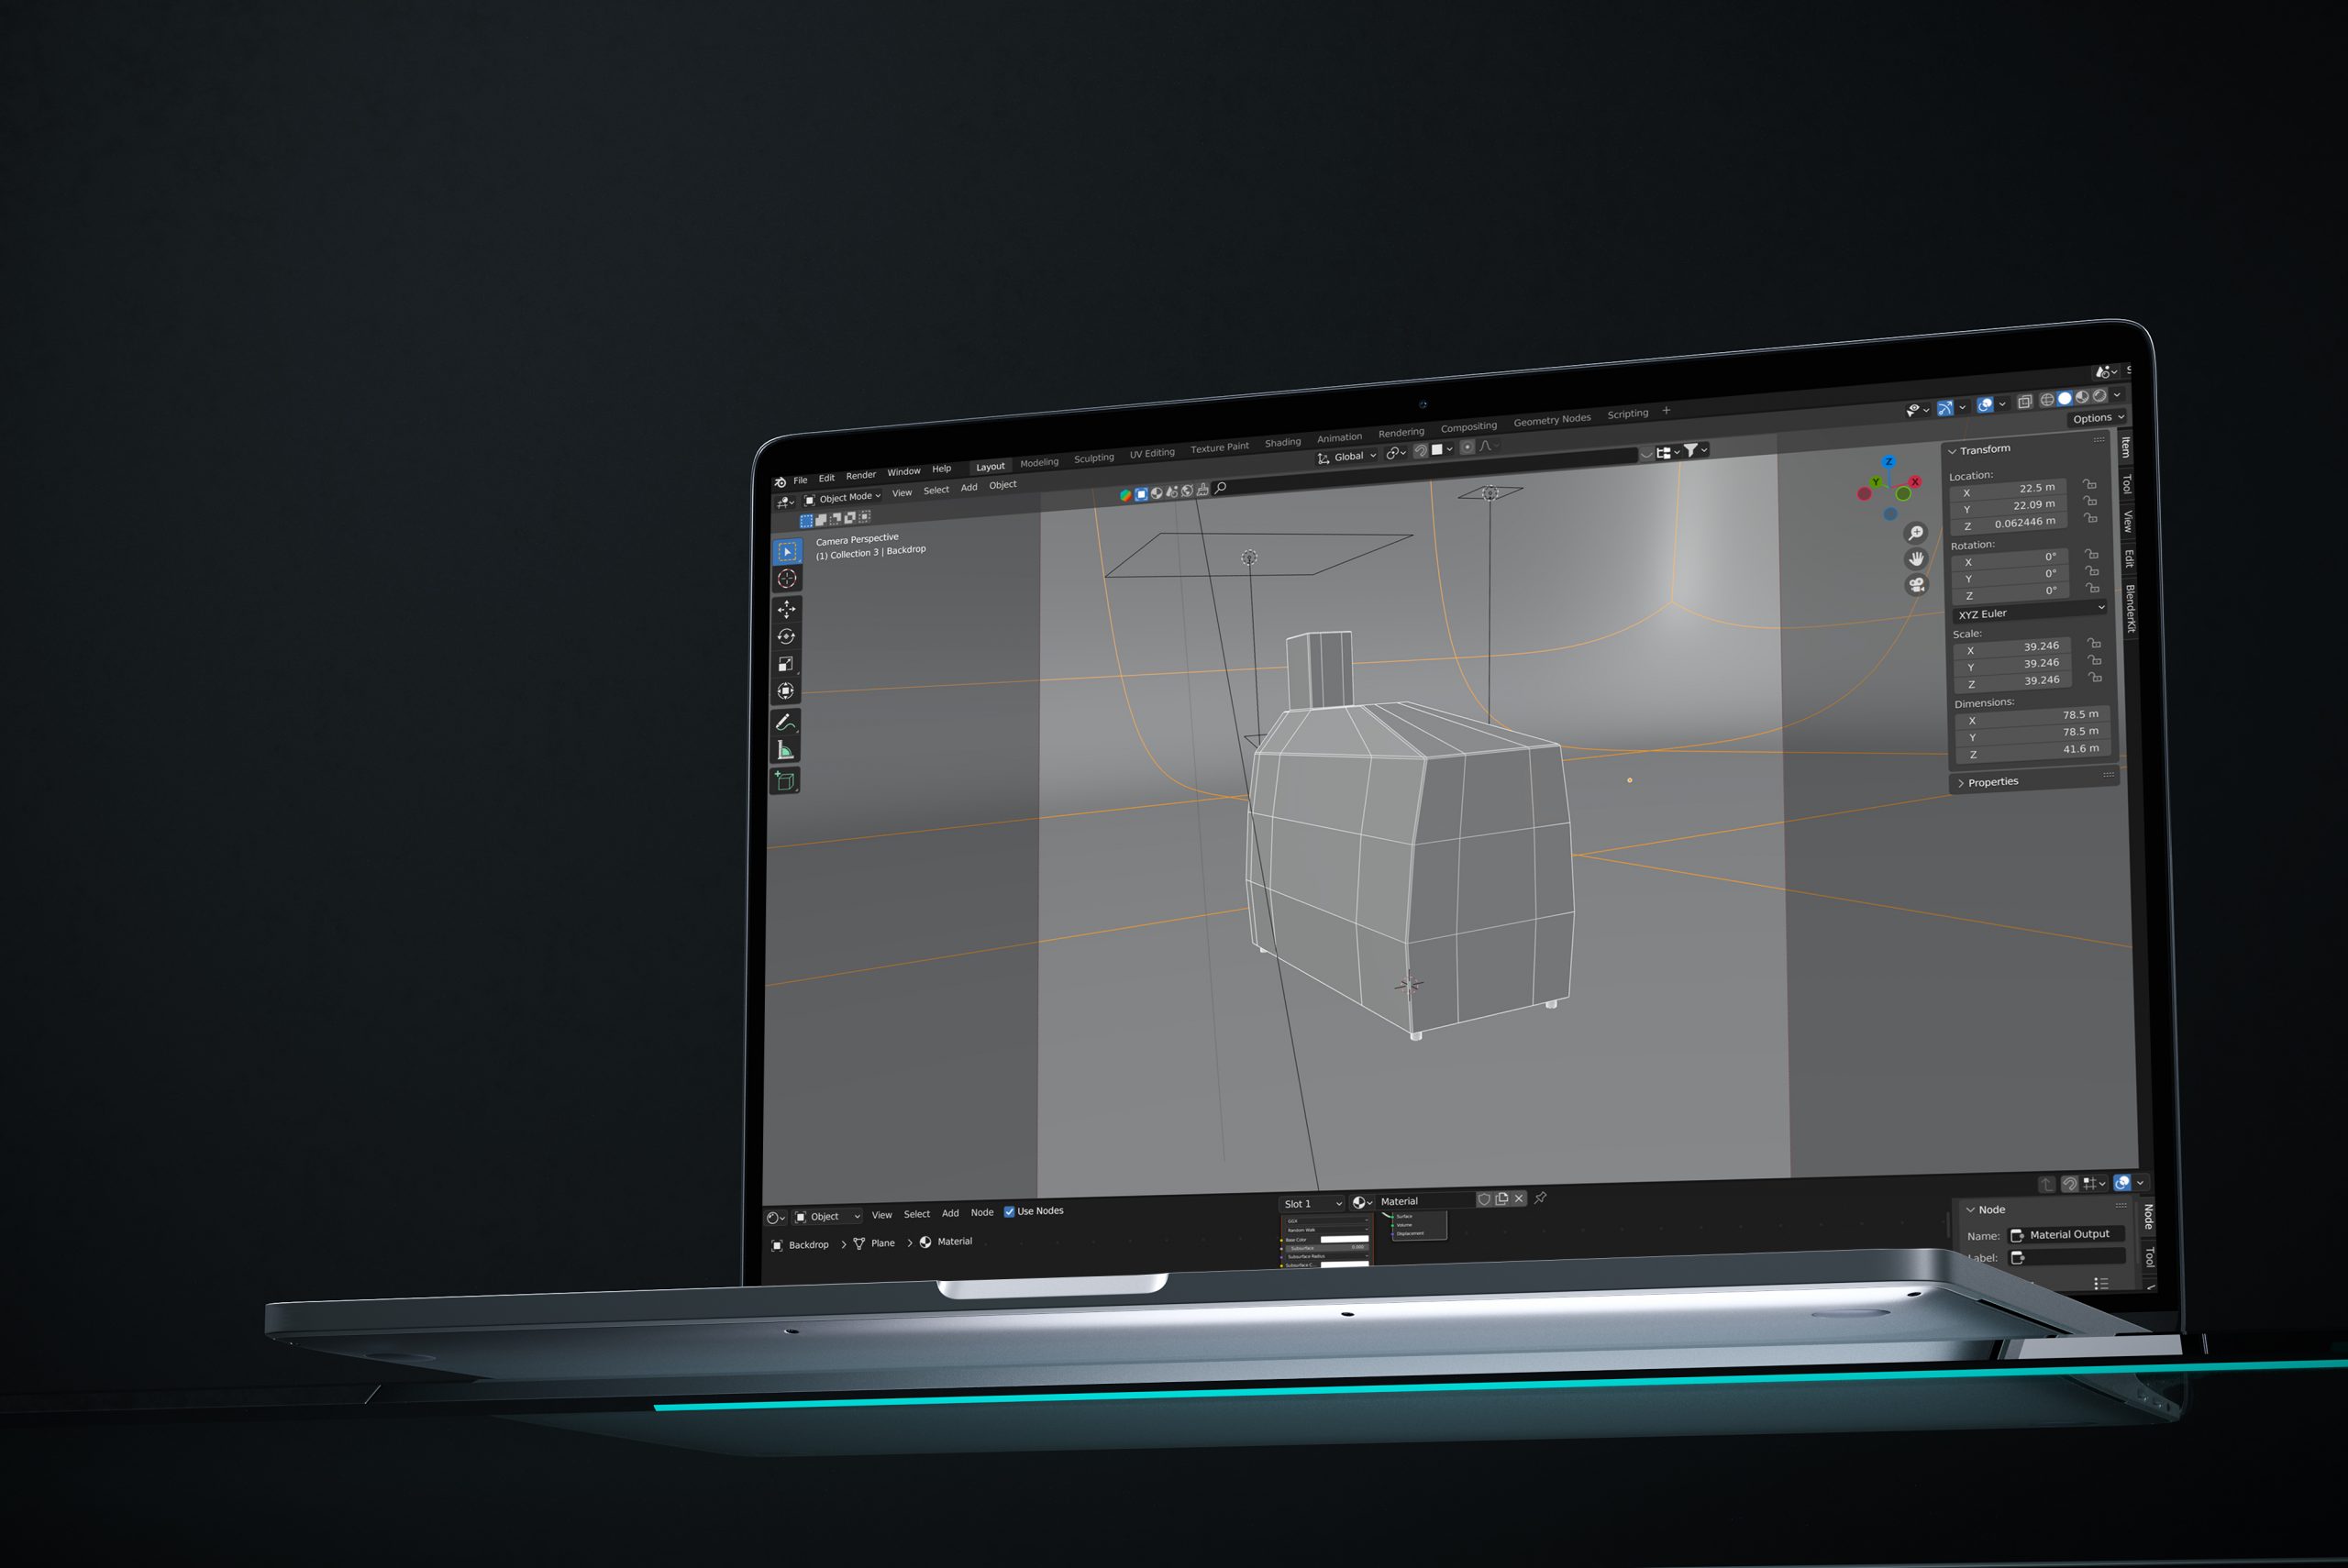
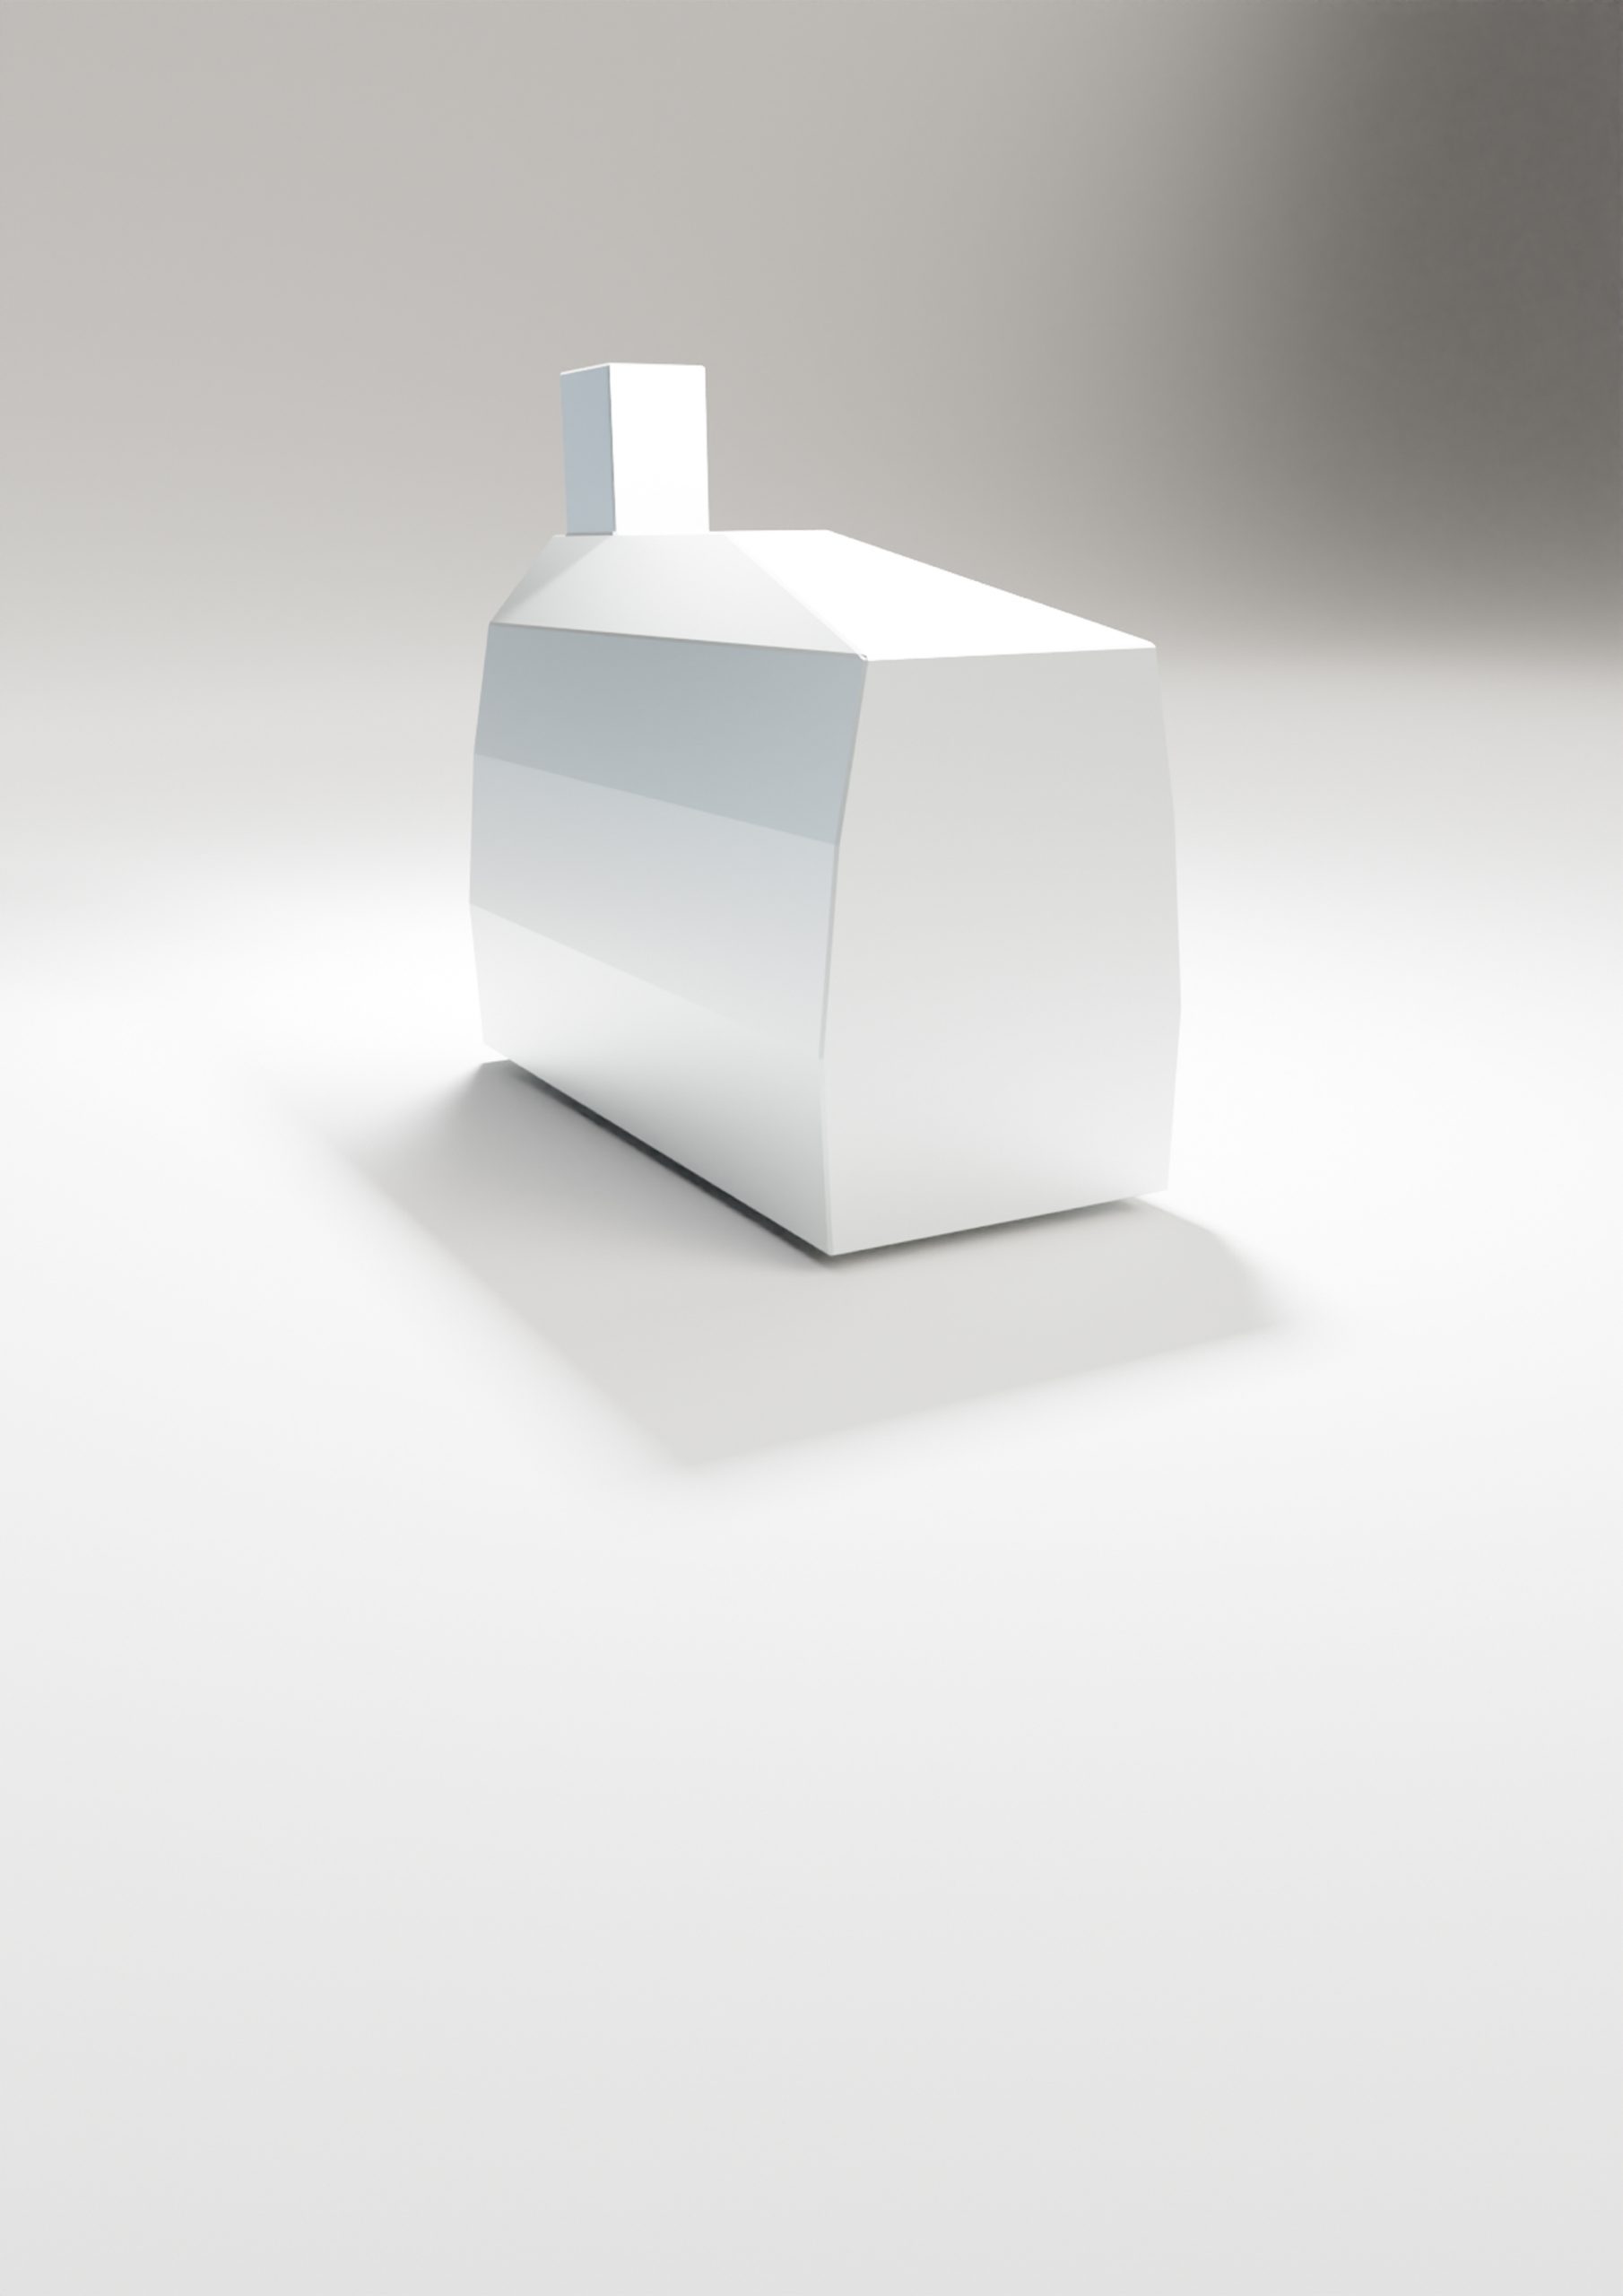
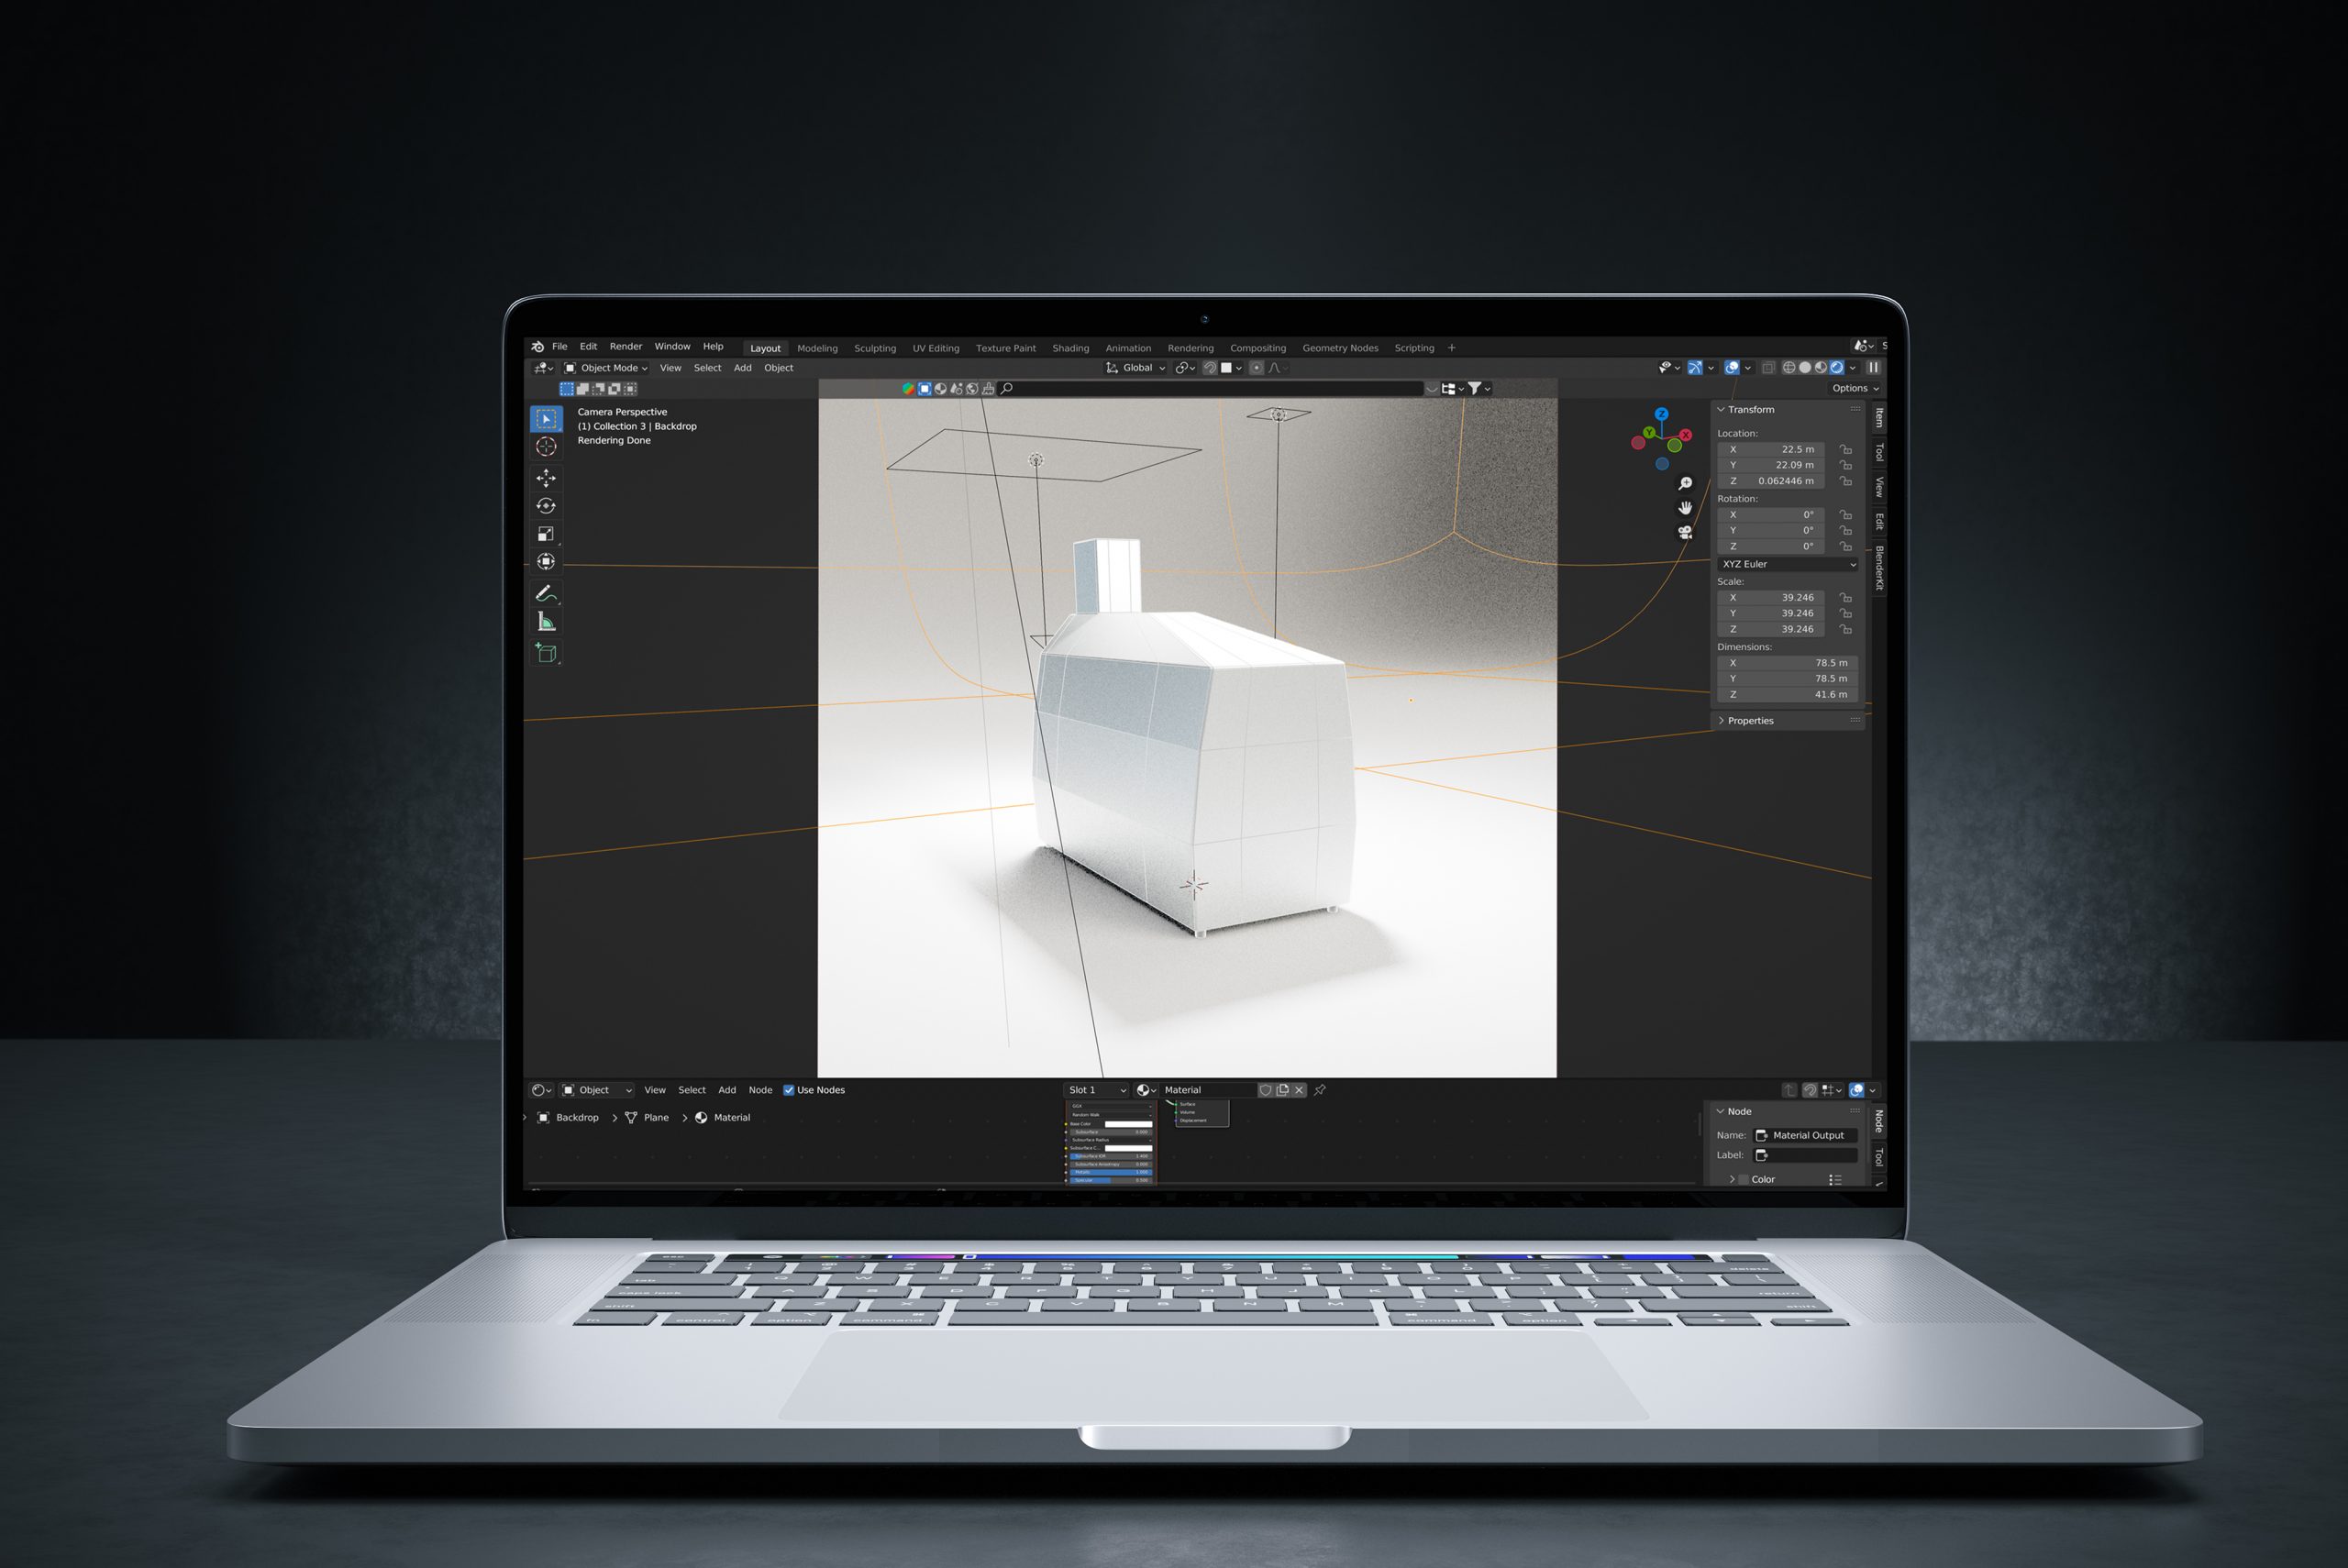
Inside this virtual studio, we construct a simplified, Lego-like model of the client’s instrument. We position area lights strategically around it, create a backdrop, and position cameras for optimal effect. This arrangement generates accurate shadows cast by the area lights onto the basic 3D model. The resulting image is then rendered, imported into Photoshop, and combined with the original instrument image. The outcome: not only realism and contextual depth, but a reproducible process utilizing the 3D rig for any similar instrument imagery, consistently and reliably.
Before
Using Blender, the open-source 3D platform to build a virtual studio, first, we must construct a simplified, Lego-like model of the client’s instrument.
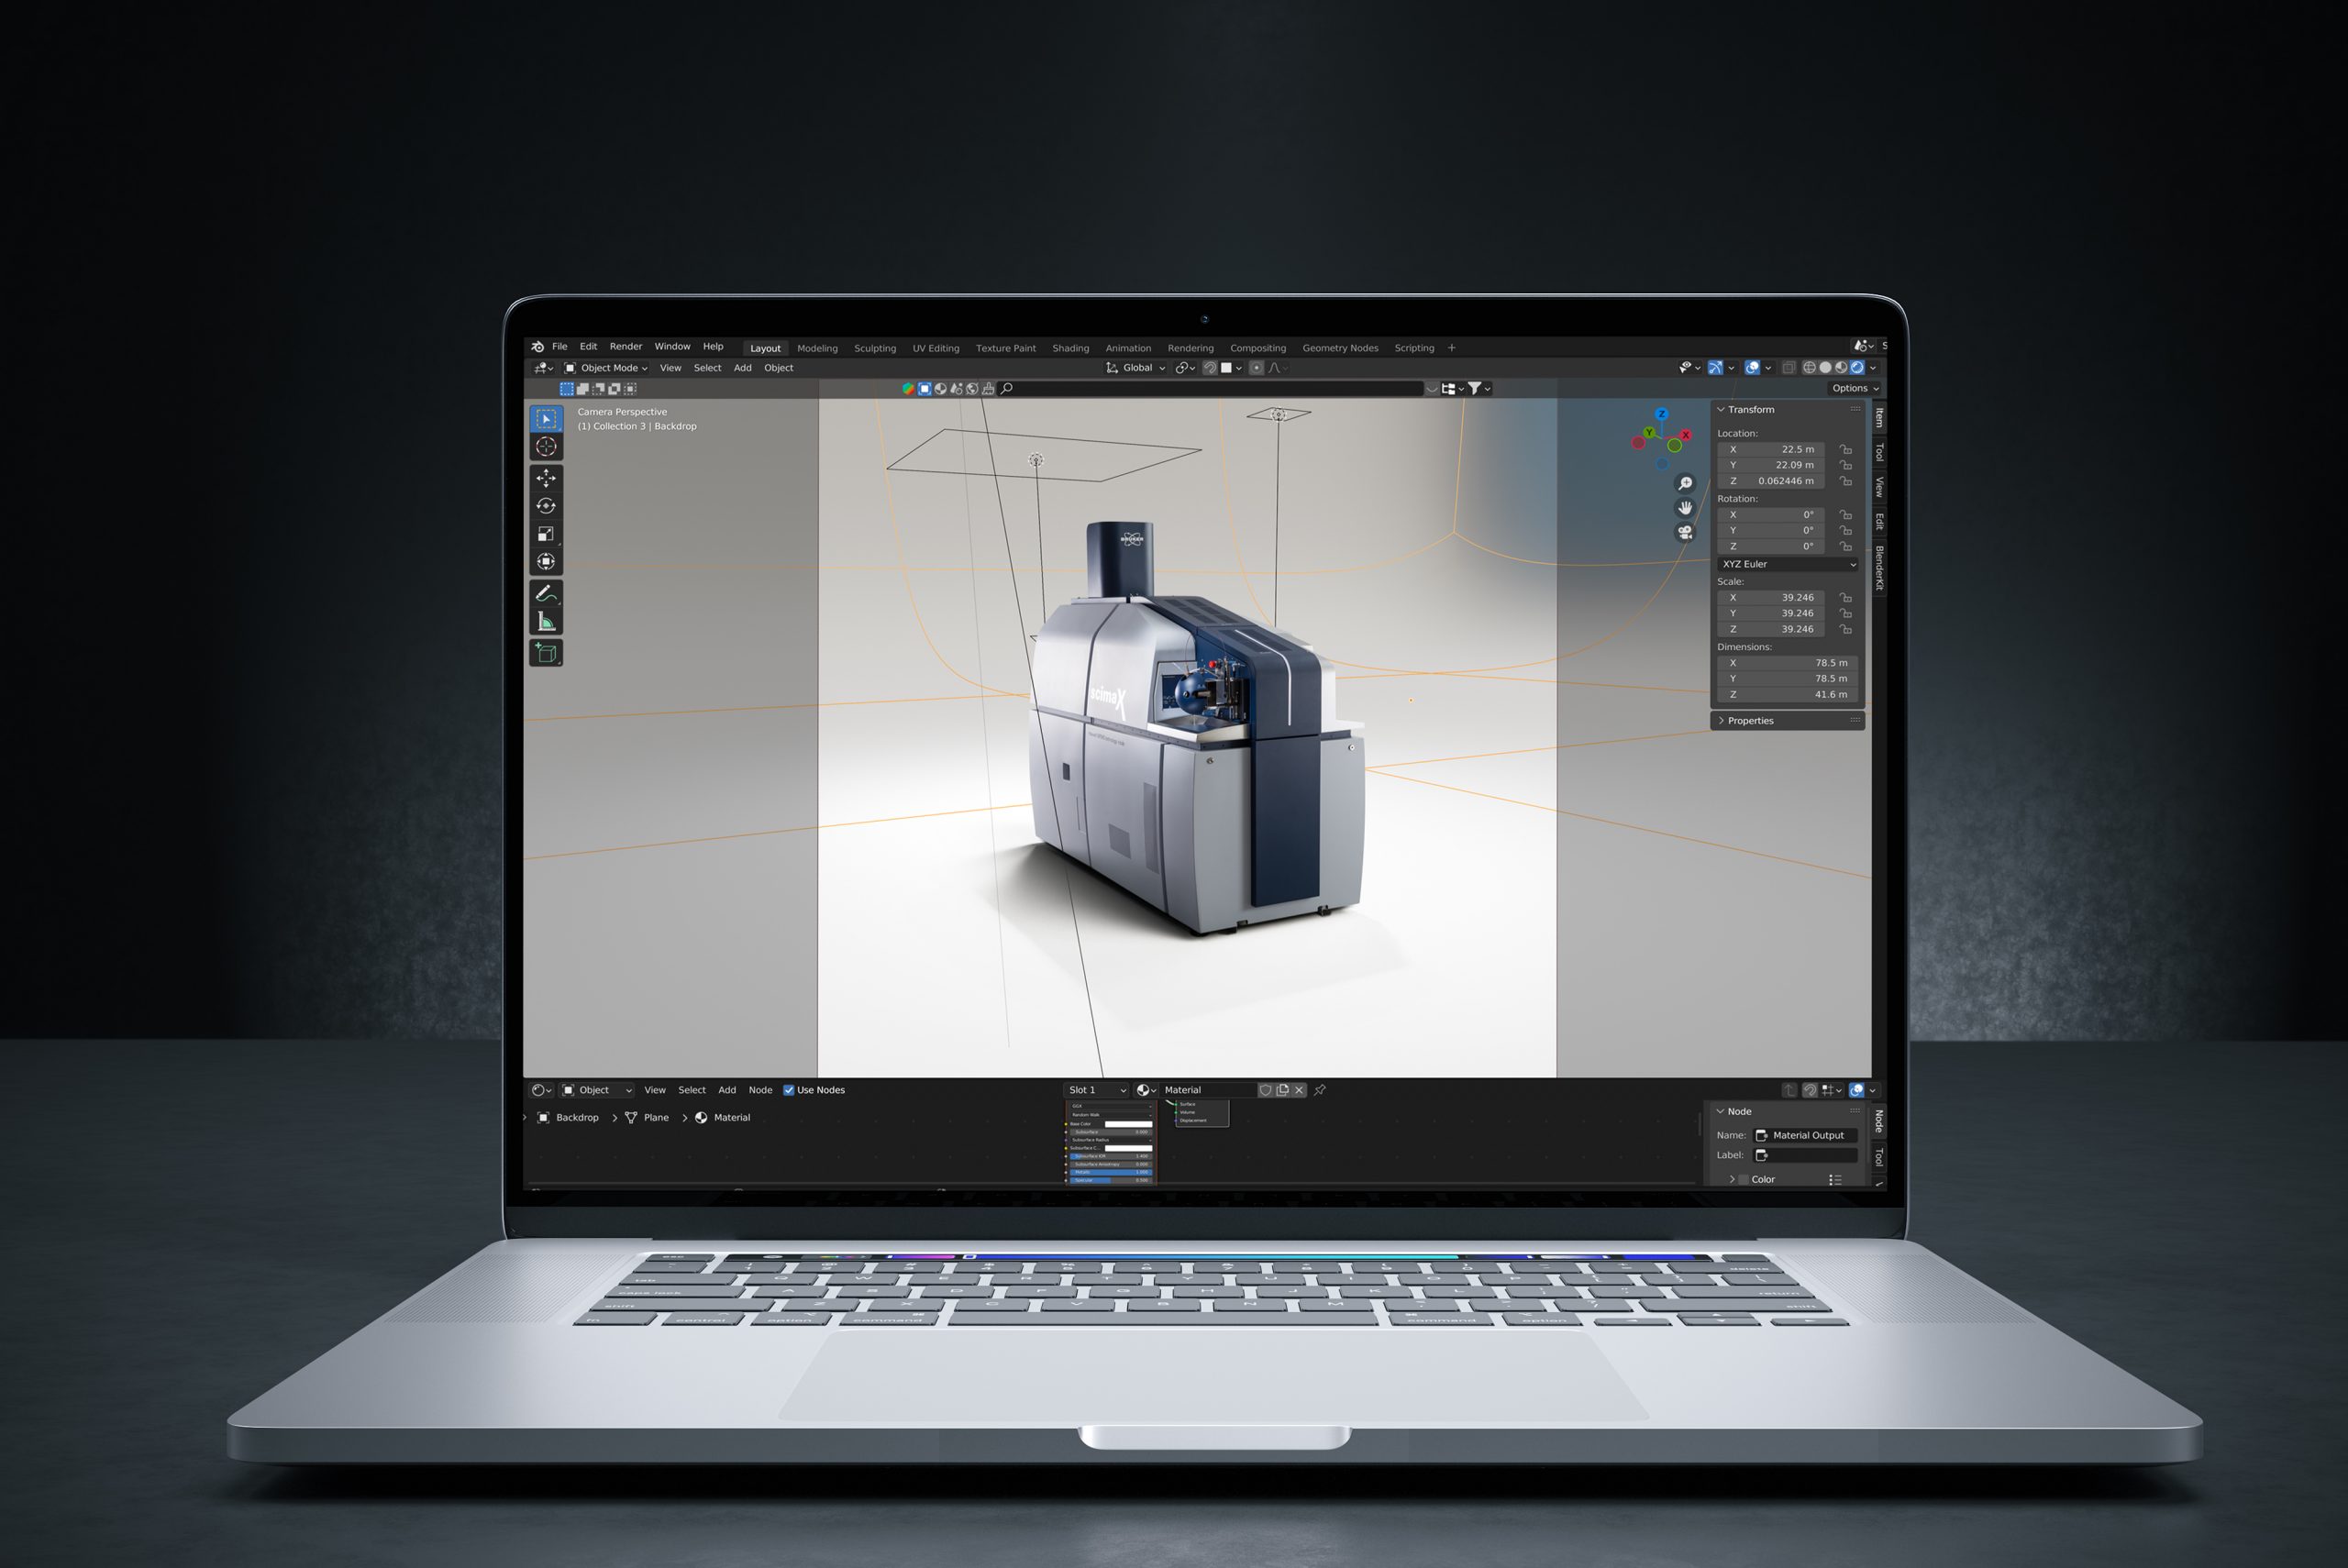
After
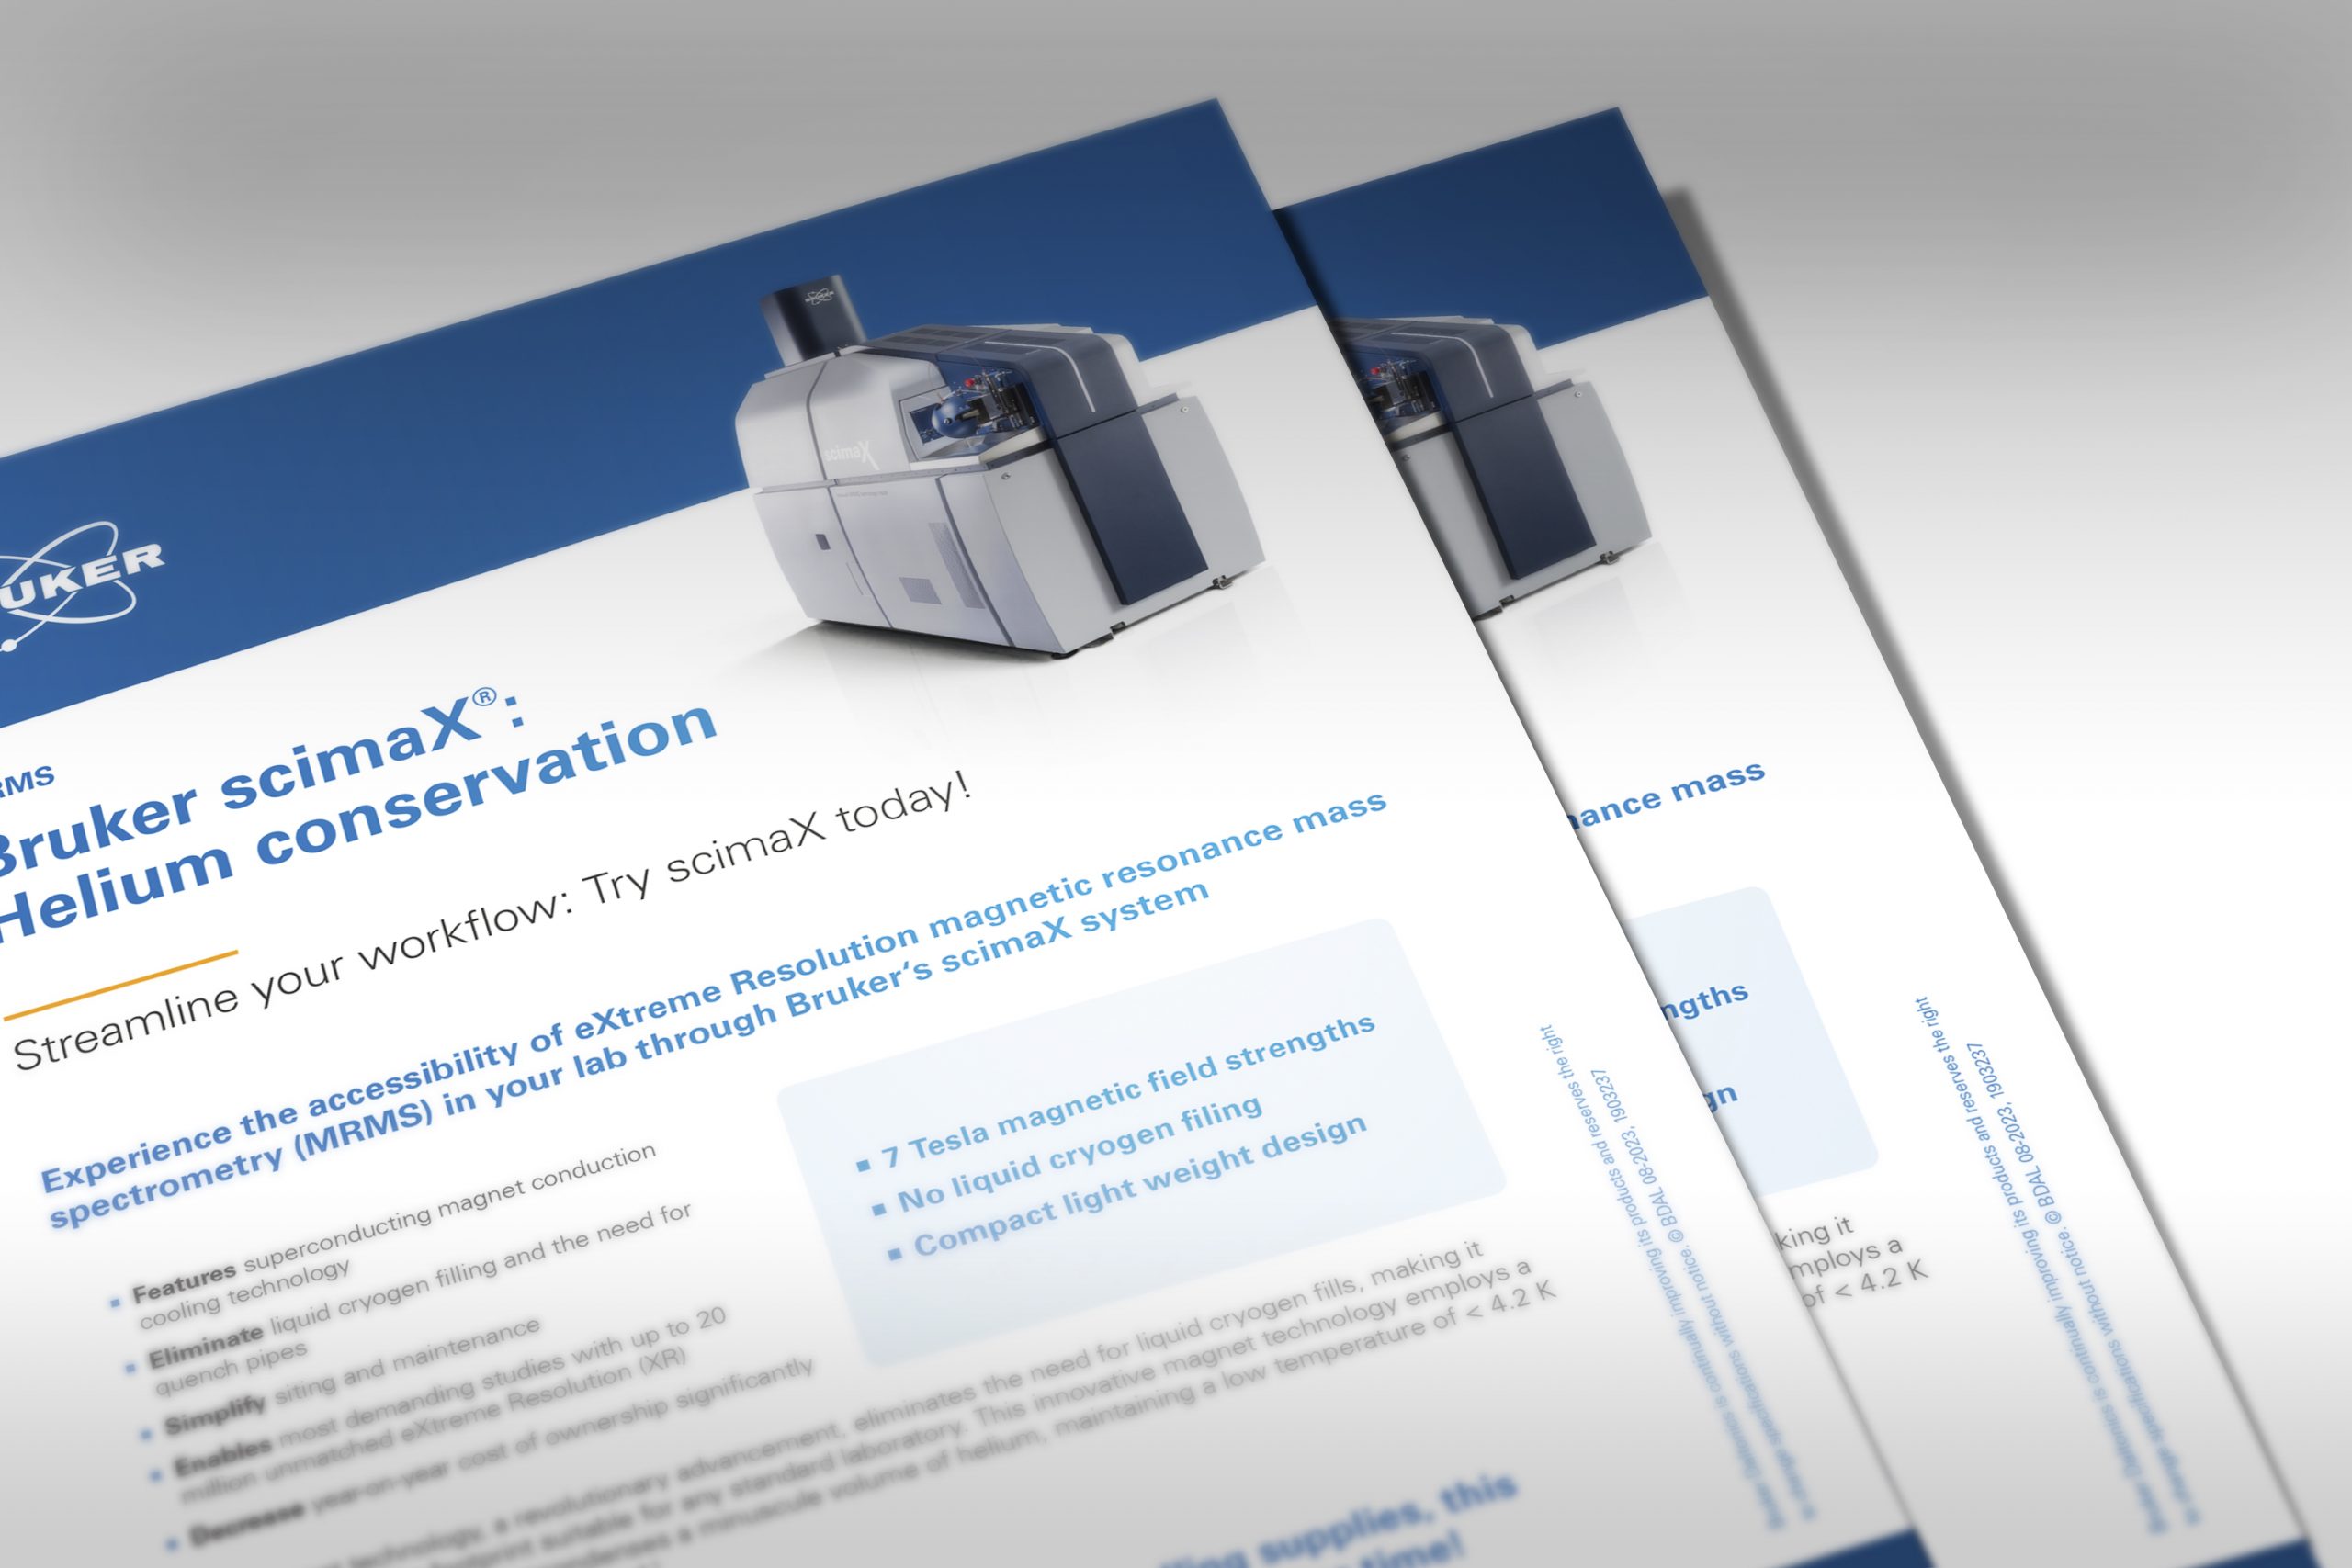
The resulting image is then rendered, imported into Photoshop, and combined with the original instrument image to create realistic shadows and reflections.
Small details, can make a big difference
To some, this might seem ‘over the top’, but to us, it’s going the extra mile in the pursuit of quality for all of our customers’ projects!